Adding and Linking a Taylorsense-Enabled Guitar to the Taylor App on iOS
In this step, we will learn how to link the TaylorSense device in your Taylor Guitar to the Taylor App.
Step 1: Once you have completed your TaylorSense account, you will be taken to the "Add A Guitar" screen. Tap the "Add Guitar" button.
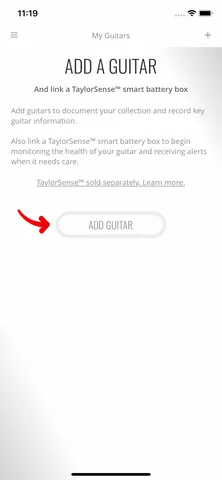
Select “Add Guitar."
Step 2: You will now see the "Add a Guitar" screen. Start adding your TaylorSense-equipped Taylor guitar to the App by entering a nickname for this Taylor guitar in the “Guitar Name” field. Add or choose a photo to personalize this guitar.
You can also add the guitar’s serial number, model number, and year it was manufactured. All are optional.
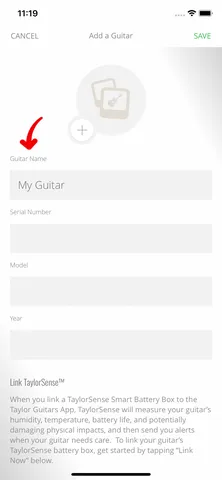
Complete your guitar's information.
Step 3: At the bottom of the screen, you will see an option to “Link TaylorSense.” Tap the “Link Now” button.

Tap the "Link Now" button.
Step 4: Remove the battery from your TaylorSense smart battery box, and then reinsert it. Once you have done so, tap the “Continue” button to move on to the next step.

Remove and reinsert your battery and then tap "Continue".
Step 5: Then, gently place your iOS device on the top of your Taylor guitar next to the guitar’s soundhole. Once you have done so, tap the “Continue” button.

Gently place your iOS device next to the guitar's soundhole, and then press "Continue".
Step 6: Next, please wait while your sensor is detected and linked to your iOS device via low-energy Bluetooth.

Wait while your TaylorSense is detected and linked.
Step 7: Once you have successfully linked your TaylorSense smart battery box to the Taylor App, confirm your TaylorSense alert settings.
All four are pre-set to "on." Taylor Guitars recommends that you keep all alerts on (buttons will be green) to monitor and ensure maximum protection for your Taylor guitar.

TaylorSense Alert Settings
Step 8: Once you are done with your alert settings, tap the green "Finish & Save" button to complete the TaylorSense setup process.

Step 9: You should see a pop-up box letting you know that “TaylorSense Would Like to Send You Notifications.” You will need to tap “Allow” for TaylorSense to send you critical alerts when your Taylor guitar requires attention and care. Tap “Allow” now.

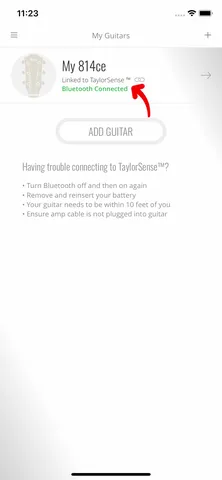
Step 10: You should now be taken to the “My Guitars” list screen, where you should see your newly added guitar in the list. Your guitar should also say "Linked to TaylorSense" and "Bluetooth Connected.”
Step 11: Select this guitar by tapping it. You will be taken to your guitar’s TaylorSense Dashboard screen.
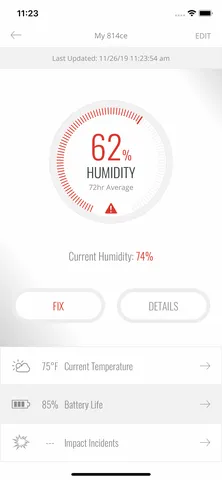
Congratulations, you’re finished installing and setting up TaylorSense!